
How I Edit my Photos for FREE
Everyone edits their photos, whether you just use the default instagram filters or are an avid adobe photoshop user. I have heard of friends and celebrities purchasing $100 presets to edit their photos which is just absolutely ridiculous, in my opinion, if you’re just editing photos for instagram. I do not know how to photoshop or edit my body or any of that so if you’ve come to learn how to change the way you look in a photo outside of filters and presets, you’ve come to the wrong place. However, I have found a new way to enhance my pictures for free, and make them look so much more high quality than they really are for instagram. So, I will be exposing myself, and starting a series about how I edit my instagram photos. These are the tips that no one wants to share for some odd reason. I will be doing this series by picture so if there is a picture you want to see, or if you want to see this series continue, comment below I will add it to the series!
CLICK THE APP’S NAME TO DOWNLOAD IT!
The first app I always use to edit is facetune. Sister James Charles taught me to use this app to enhance my makeup in my photos and make it pop. Click James’ name if you want to watch his video on facetune, he does a lot more with the app than I do if you are interested. There are also features that smooth out your skin (guilty!) and whiten your teeth (not guilty, I have a ridiculous teeth whitening routine).

Use the smooth tool on facetune (located on the bottom of your screen) to TAP (do not rub, it will look unnatural) over your blemishes, this will not make them disappear completely, but it will give your skin a naturally smooth complexion.
Use the detail tool to TAP over any makeup you want enhanced, I specifically tap over my cupid’s bow, inner corner, lashes and highlight. This tool can be very exciting at first, but I’ve made the mistake of over doing it, do NOT over do it (this is why I do not whiten my teeth, in my opinion it always looks fake, but use this tool as you please).

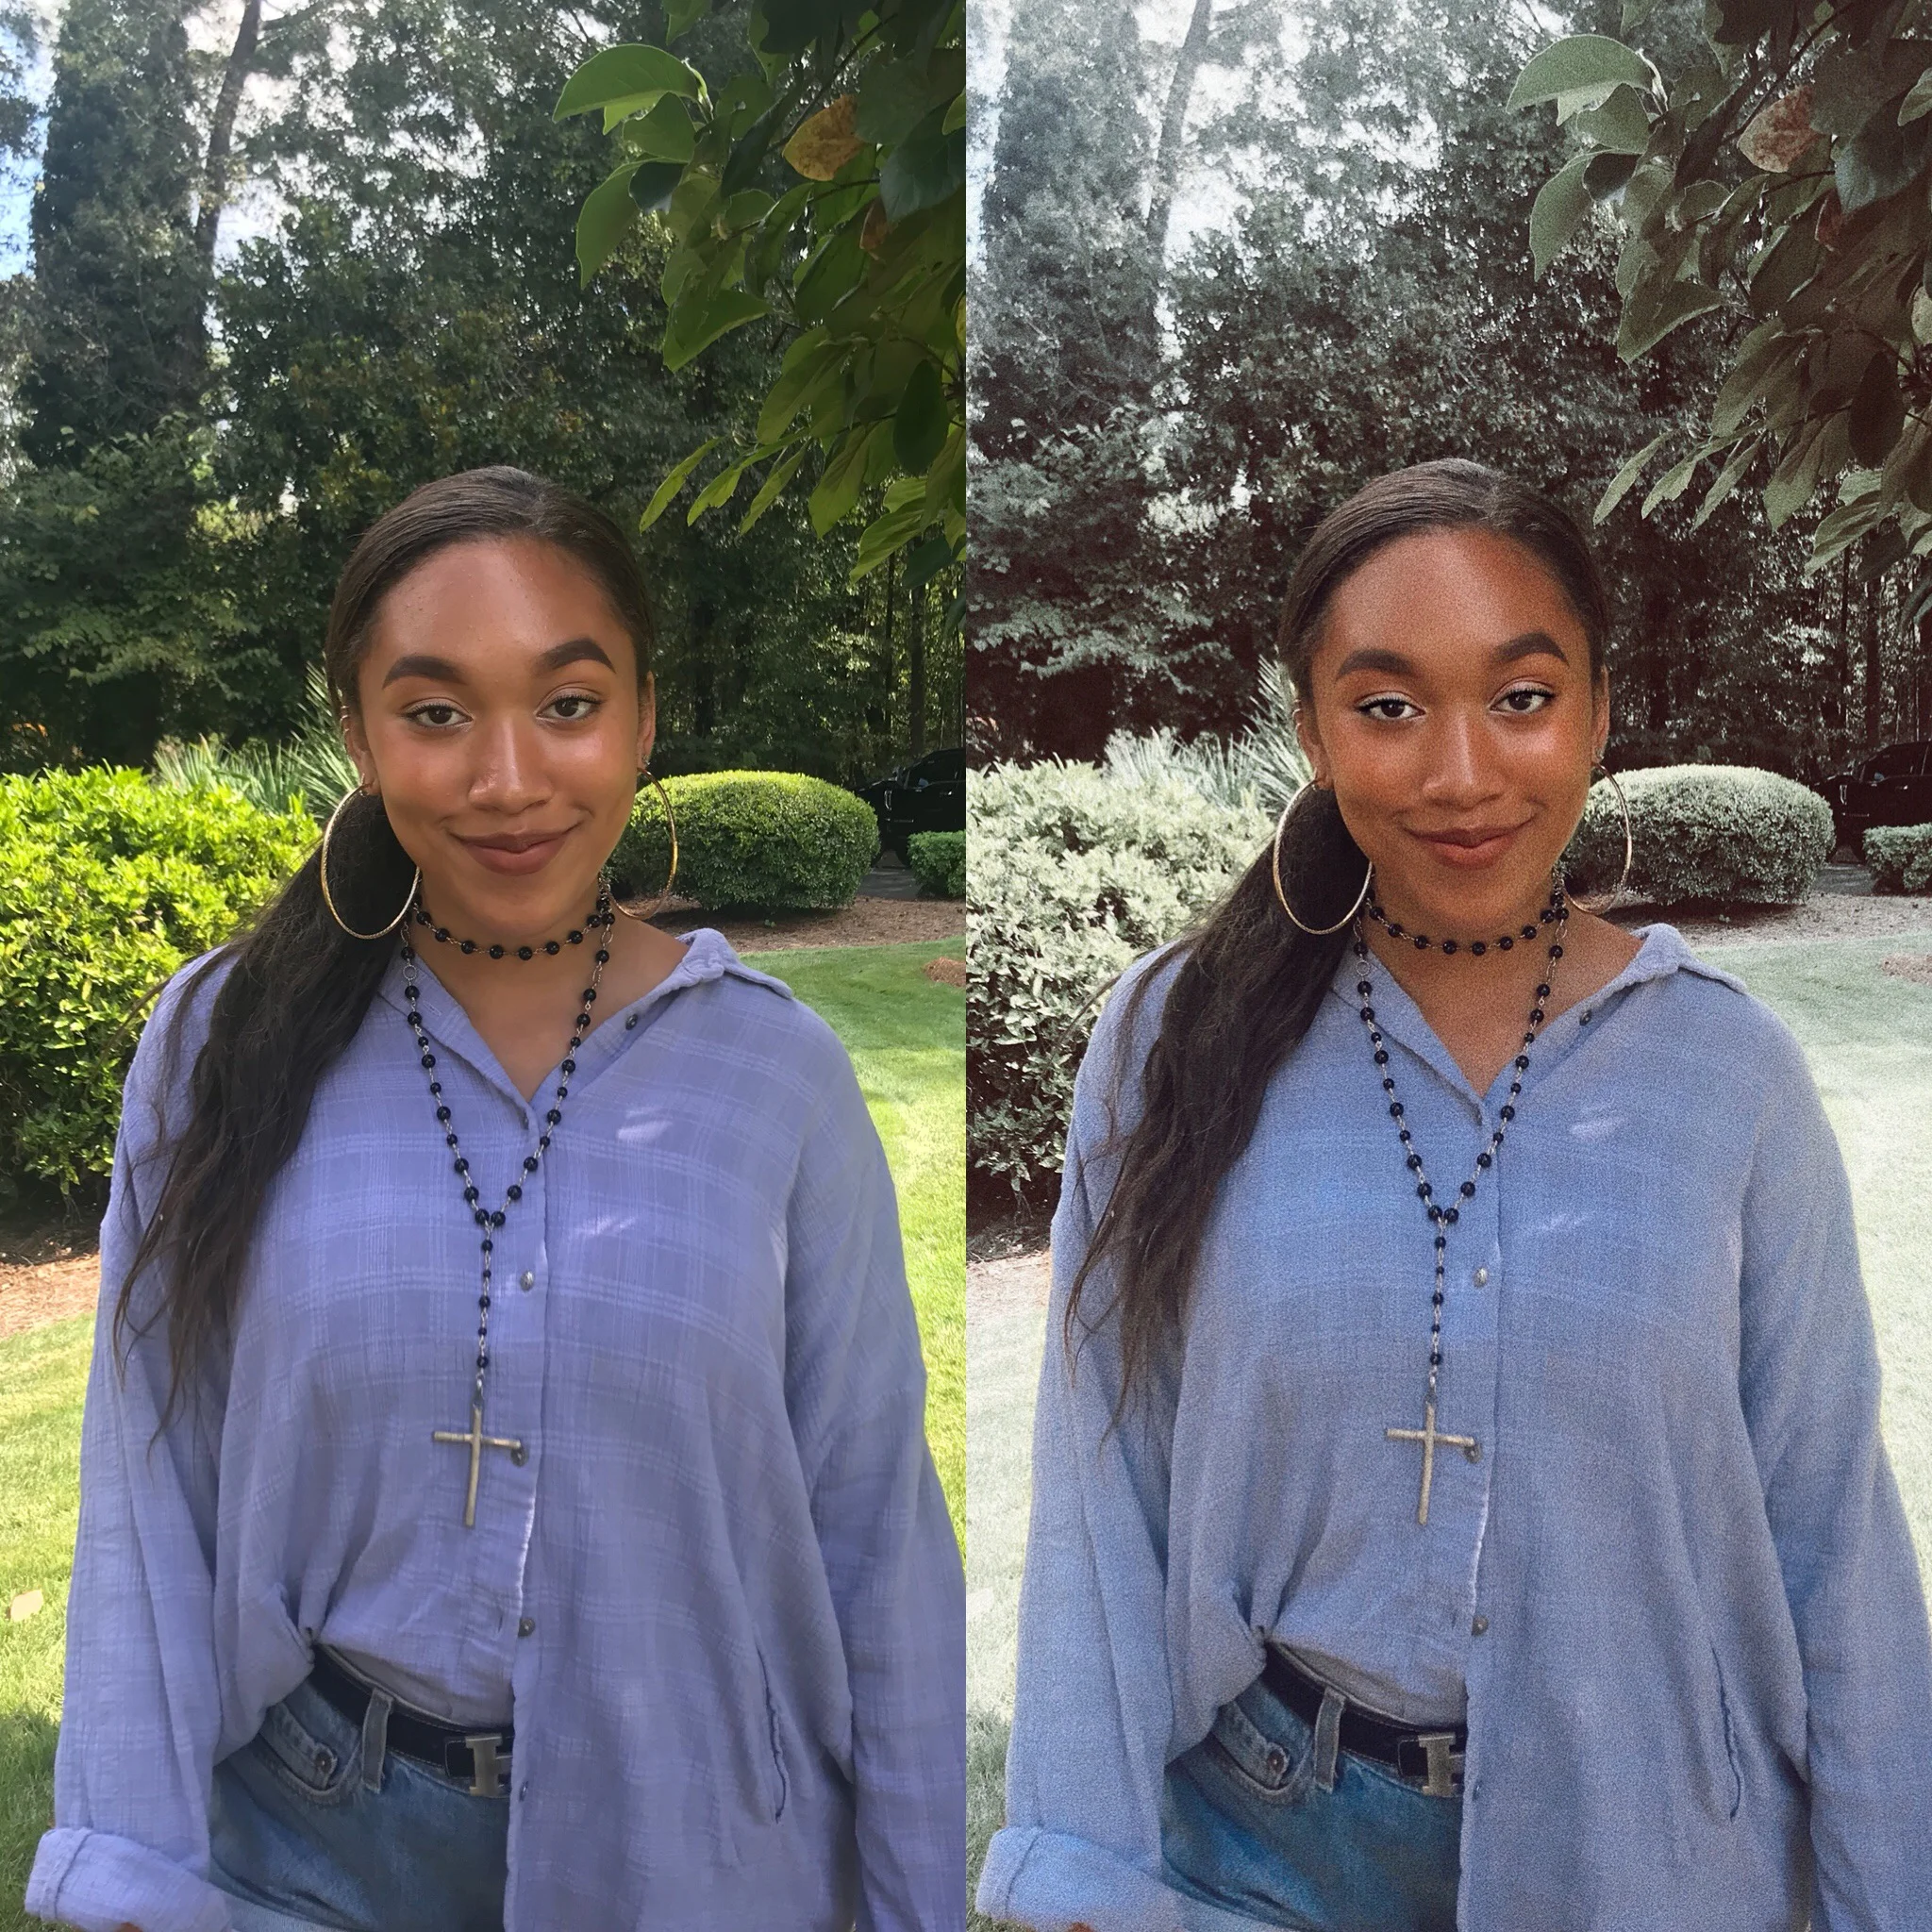
Next, I use the app Tezza to use their free presets. I use the preset “vintage” over all of my photos because it makes you look tan, and gives your photos that HD yet vintage look that is popular right now. I would use the adjustment tool to turn the filer down depending on the photo because it tends to come on a bit strong.
This is where it can get confusing, but bare with me. It makes ALL the difference.

Next, I use the picsart app. I click the FX tab at the bottom of my screen and choose a filter. There will be an eraser icon at the top of your screen, click that, and then click on the icon that looks like a person. It will erase the filer from the focal person or people on the photo, but keep the filter in the background. You can use black and white or a blur effect if you want the people in the photo to be the primary focus, or HDR if you want to enhance the background, or a more subtle filter. You can also use picsart to add light flares to your photo.

The last step is to put your photo into vsco, and use the grain tool under the adjustments tab, and tune it down a bit. The grain tool brings everything together and adds a beautiful vintage feel.
There you have it folks, that is how I edited these instagram photos! Stay tuned for more posts like these.

instagram: @mariahcrose